A step-by-step guide on how to set up solar power in your home
At a time when greenhouse gases and carbon emissions are taking a heavy toll on our ecosystem, clean energy is rapidly gaining popularity. Globally, two-thirds of all solar power capacity has been installed since 2011. Fortunately, India has kept pace with the rapid growth of clean solar power. Reports show that solar power generation in India grew by 86 percent in 2017.
Solar power is now ideal not only in commercial units but also in residential units. The cost of installing solar installations is steadily decreasing, but you can always try DIY options to keep it within your budget. Read this simple guide to installing solar power so you can save money by installing your own solar power with a solar photovoltaic (PV) system. Here’s an in-depth look at how to build and install a solar power installation for your home.
Step-by-step guide to setting up a solar installation
Step 1: Collect the solar modules
It all starts with collecting the basic components of your solar installation. You will need four main items – solar panels, a charge controller, an inverter, and a battery pack. In addition to these items, you will also need circuit breakers, meters, MC4 connectors, fuses, etc. Remember, it is critical that you read the solar panel module instructions.
Step 2: Calculate Your Electricity Load
Before you begin the task of solar installation, it’s critical to take stock of how much electricity you use in your home. This is not rocket science. All you have to do is take note of the appliances you use each day, including TVs, lights, fans, etc. Next, add the number of hours these appliances run during the day. Check the specification sheets for your household appliances to check how long they are used or run, as well as their power ratings.
Now calculate the “watt hours” by multiplying the operating time of the device by its power rating. Do this for each electrical device and add the individual watt-hours to get a total. You can also use the online off-grid load calculator to simplify this calculation.
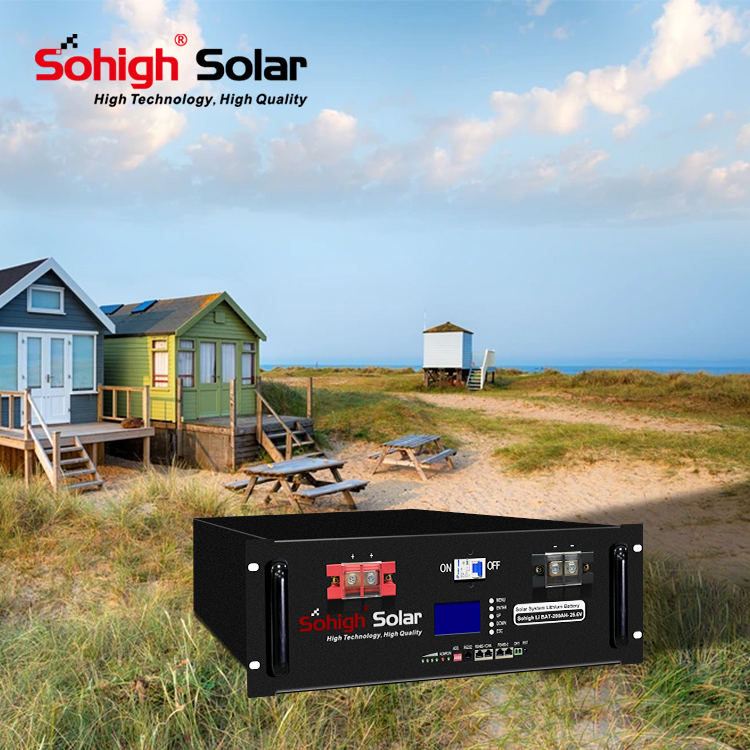
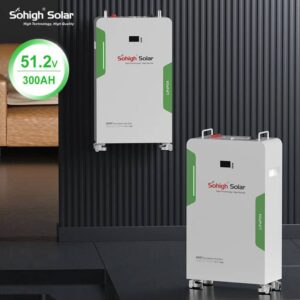
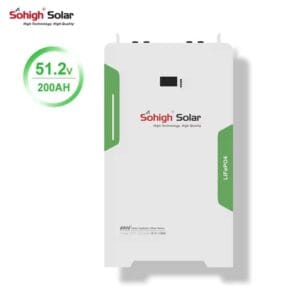
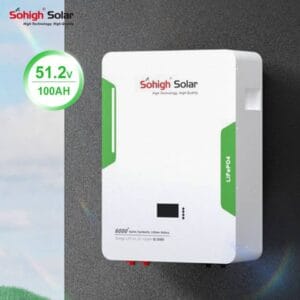
Step 3: Select and charge the battery
One of the main problems with solar energy is that it doesn’t provide power when the sun goes down. However, you can easily solve this problem with batteries. Lead-acid or lithium-ion batteries store the solar energy generated during the day and discharge it at night. If you choose the best battery storage capacity, this will provide a steady supply of energy. You will need a power controller to monitor the battery charge. They are located between the panel and the battery. These controllers are usually equipped with a small LED to inform the battery of the state of charge and to regulate the power flow to the battery.
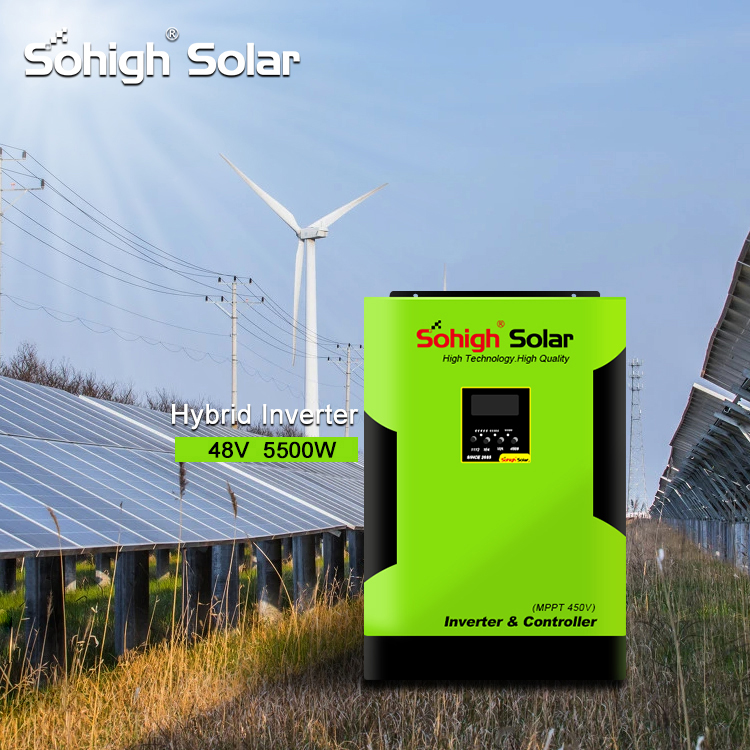
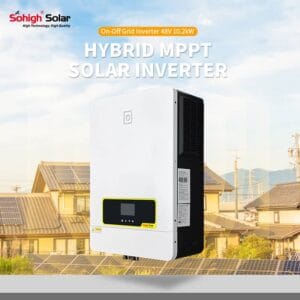
Step 4: Set up the inverter
Solar arrays generate power in direct current (DC), but appliances use power in alternating current (AC) form. An inverter is a time-saving device that allows you to use electrical devices without the use of an adapter. Inverters come in different wattages and types of power, including square wave, modified sine wave, and pure sine wave inverters. Square wave is not available for all devices, and modified sine wave output is not available for some appliances, such as refrigerators. This makes pure sine wave inverters the best choice for your solar system.

Step 5: Secure the solar panels to the roof
In the final stage of this procedure, connect the solar panel. You can trace a small junction box on the back of the solar panel. The junction box is marked with positive and negative polarity. In the larger panels, the junction box also has terminal wires with MC4 connectors. However, if you are using a small solar panel, you must align the junction box with the external wires yourself. Use the black and red wires to connect the negative and positive terminals, respectively.
Step 6: Connecting the solar panel to the battery
You will need to connect the solar panels to the battery. In some PV systems, they are paired together, so you do not have to put in extra effort. In cases where they are not given individually, they need to be connected in series and parallel. You can make a series connection by connecting the positive terminal of one device to the negative terminal of another device. For parallel connections, you need to connect the negative terminal of one device to the negative terminal of another device, etc.

Step 7: Set up the representative inverter and battery
Your residential solar installation is not complete without batteries and inverter mounts. Again, you have the option of building stands or obtaining them. Once the inverter and battery distribution locations are ready, you are ready to start wiring. Start by connecting the controller. The first connection on the left is used to connect the controller to the solar panel. The second connection is used to pair the batteries with the controller. The last connection is used to connect the controller to the direct DC load connection.
To connect the solar panel to the charge controller, you will need a separate connector called the MC4 connector. Once the controller is connected to the battery, its LED should light up. Again, you must connect the inverter terminals to the battery terminals.